Creating a beautiful outdoor space doesn’t have to break the bank. With a little creativity, you can design a stunning pathway that complements your home’s exterior.
Imagine walking along a serene pathway, surrounded by lush greenery and vibrant flowers, all achieved on a budget. DIY walkway solutions offer a cost-effective way to enhance your outdoor space.
From simple to elaborate designs, there are numerous do-it-yourself walkway solutions to suit your style and budget.
Key Takeaways
- Discover budget-friendly materials for your pathway
- Explore simple DIY techniques for a professional finish
- Learn how to design a pathway that complements your outdoor space
- Find inspiration for unique and creative pathway designs
- Get tips on how to maintain your pathway for years to come
Transform Your Outdoor Space on a Budget
DIY walkways are a smart way to improve your outdoor area. With some planning and creativity, you can make a beautiful walkway without spending a lot.
Why DIY Walkways Are Cost-Effective
Going for a DIY walkway can save you a lot of money. By picking affordable materials and doing the work yourself, you can make a great walkway for less. As “a penny saved is a penny earned,” DIY walkways let you use your money better.
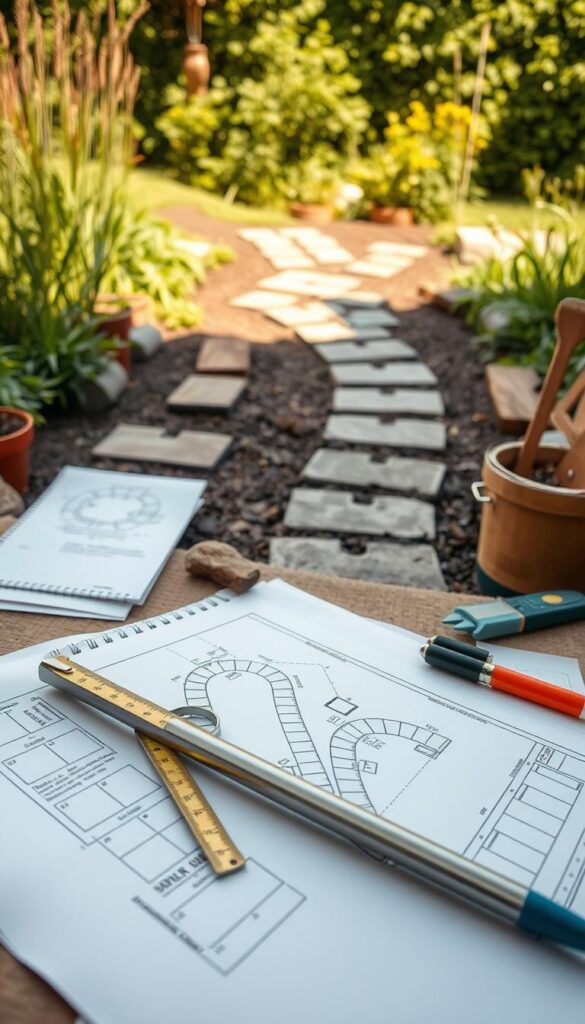
Planning Your Walkway Project
Planning is key before starting your walkway project. You need to measure your space, think about how people will move, and make sure water drains well.
Measuring Your Space
Measure your outdoor area to figure out your walkway’s size and shape. This helps you know how much material you’ll need.
Considering Traffic Patterns
Think about how people will walk through your space. Find the main paths and plan your walkway to fit.
Accounting for Drainage
Make sure your walkway lets water drain away. This stops erosion and keeps your walkway in good shape.
Basic Tools You’ll Need for Any Walkway Project
For any walkway, you’ll need some basic tools. These include a shovel, rake, level, and tamping tool. Having these tools ready makes the job easier and faster.
Gravel and Stone Walkways
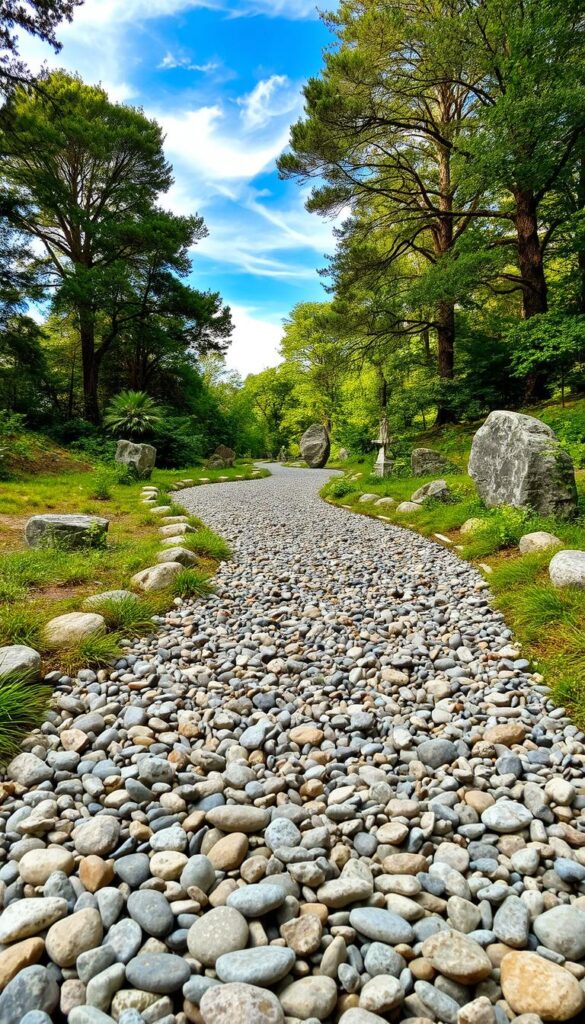
Gravel and stone walkways are a simple yet elegant choice for homeowners. They are budget-friendly and versatile. This makes them perfect for various garden styles.
Materials Needed
To make a gravel or stone walkway, you need a few things. You’ll need gravel or stone, landscaping fabric, edging materials, and a compactor or hand tamper. These tools help make the surface stable and even.
Cost Breakdown
The cost of a gravel or stone walkway varies. It depends on the materials and pathway size. On average, it costs between $3 to $10 per square foot. This makes it a great choice for many homeowners.
Installation Process
Installing a gravel or stone walkway involves several steps:
Preparing the Pathway Base
First, clear the area of debris and vegetation. Then, lay down landscaping fabric to stop weeds from growing through.
Adding Edging Materials
Next, install edging around the pathway. This keeps the gravel or stone in place.
Laying and Compacting Gravel
Spread the gravel or stone evenly. Then, compact it using a compactor or hand tamper. This creates a stable surface.
Maintenance Tips
To keep your walkway looking good, regularly check for wear or weeds. Replenish the gravel or stone as needed. Proper care will keep your walkway beautiful and functional for years.
Mulch Pathway Ideas
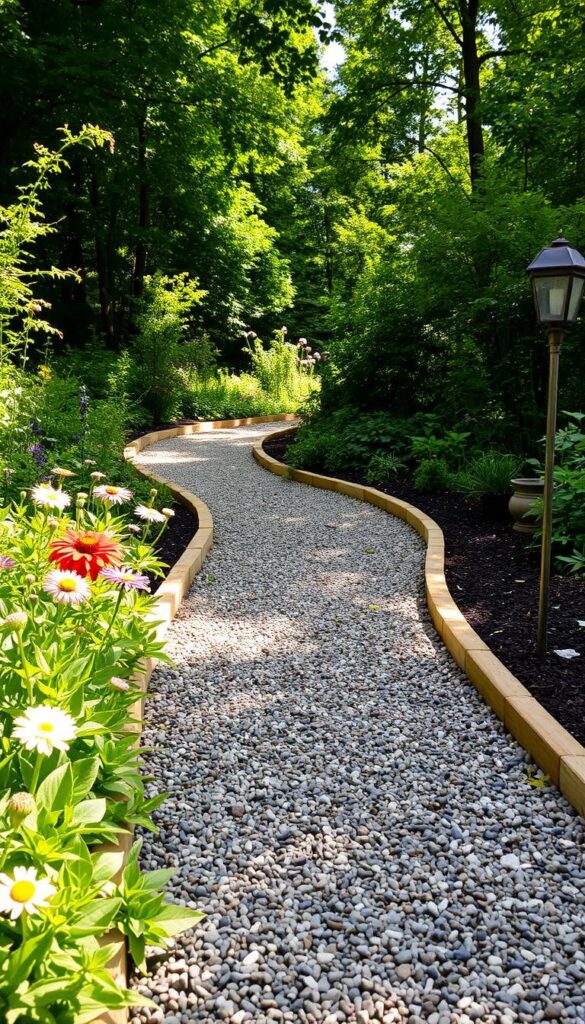
Make your garden look better with a mulch pathway. It’s cheap and easy to set up. Mulch pathways are affordable and add a natural charm to your garden.
Types of Mulch for Walkways
It’s important to pick the right mulch for your pathway. Here are some good choices:
Wood Chips and Bark
Wood chips and bark are popular because they’re cheap and easy to find. They come in different textures and can be from various trees, giving a natural look.
Cocoa Hulls and Nut Shells
Cocoa hulls and nut shells add a special look and smell to your garden. They’re also not expensive and can make nice patterns.
Rubber Mulch Alternatives
For something that lasts longer, try rubber mulch made from recycled stuff. It’s durable and needs less care than natural mulches.
Materials and Costs
The price of mulch pathways depends on the mulch type and pathway size. You’ll likely spend $1.50 to $3 per square foot. It’s a good deal for your budget.
Installation Steps
Setting up a mulch pathway is simple. First, clean the area of trash. Then, put down a weed barrier to stop weeds. Last, spread the mulch evenly to the right thickness.
Seasonal Maintenance
To keep your mulch pathway looking great, replace the mulch as needed, usually once a year. Also, make sure the pathway stays clear of trash.
Stepping Stone Walkways
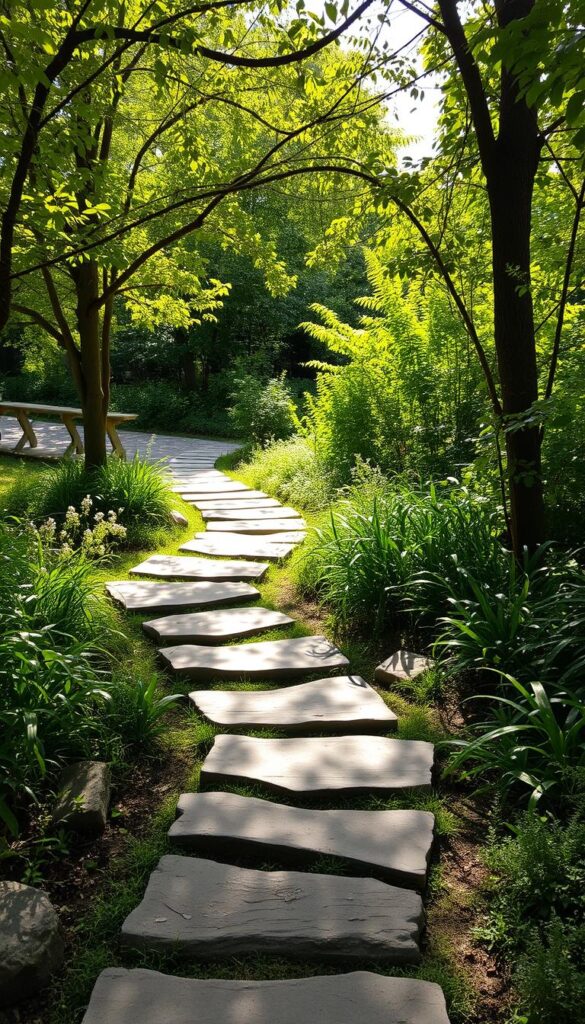
Make your outdoor space better with a stepping stone walkway. It’s simple to set up and keep clean. These paths add beauty and make it easy for people to move around.
Natural vs. Manufactured Stones
You can pick between natural and made stones for your walkway. Natural stones give a unique, natural look that fits well with your surroundings. But, they might cost more and come in different shapes and sizes. Manufactured stones are more alike and can match certain themes or colors.
Budget-Friendly Stone Options
To save money, use stones from your area or old materials. Concrete stones are also a good choice. They’re affordable and can be made to look different with various textures and designs.
Laying Out Your Stepping Stone Path
Planning is key for a nice-looking path. First, decide where the path will go and mark it with stakes and twine.
Spacing Considerations
It’s important to space stones right for easy walking. Stones should be 12-18 inches apart for a comfortable walk.
Setting Stones Securely
To make stones stay put, dig a shallow hole for each one. Add sand or gravel for drainage, then place the stone. Make sure it’s even and stable.
Creating Interesting Patterns
Make your path stand out by arranging stones in a pattern. Try alternating sizes or making a curved path.
Filling Gaps Between Stones
Fill gaps with gravel, sand, or plants to make the path look better. It also helps keep weeds away.
Cheap Walkway Ideas You Can DIY with Recycled Materials
Turning your outdoor space into something special with recycled materials is both good for the planet and your wallet. By using items you might throw away, you can make your walkway stand out without spending a lot.
Finding Free or Low-Cost Materials
Looking for materials for your walkway can be fun. Here are some places to check out:
Salvage Yards and Construction Sites
Check out local salvage yards and construction sites. You can find bricks, stones, and wood to reuse for your walkway.
Online Marketplaces and Freecycle
Online sites like Craigslist, Facebook Marketplace, and Freecycle have free or cheap materials for DIY projects.
Repurposing Household Items
Think outside the box with items you might throw away. Old pallets, bricks, or stones can make a unique walkway.
Preparing Recycled Materials
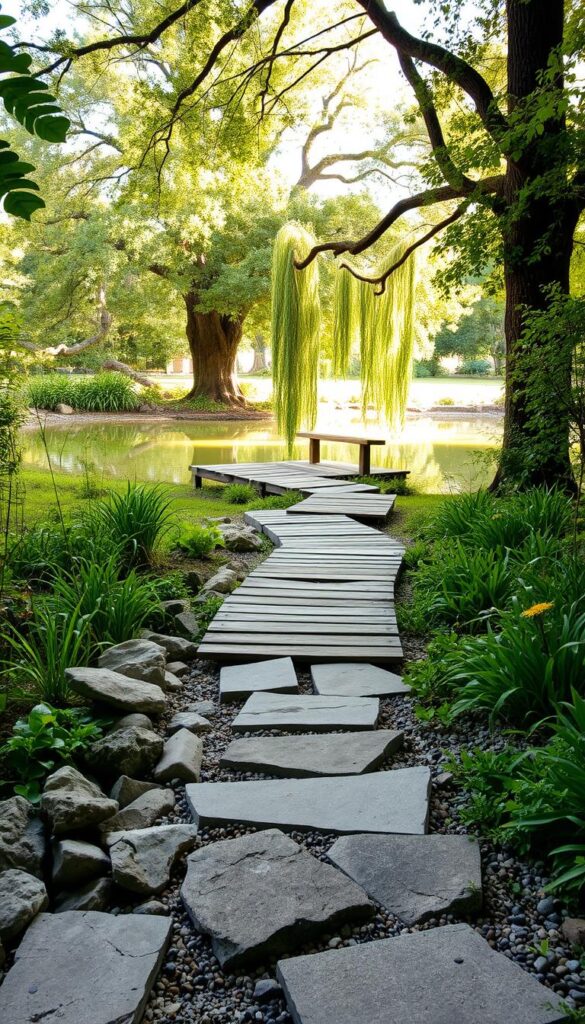
Before using recycled materials, clean and prepare them. This might mean scrubbing stones, sanding wood, or removing old mortar from bricks.
Tip: Always check the materials for damage or rot before starting your project.
Creative Layout Ideas
The way you lay out your walkway can make a big difference. Try creating patterns or mixing textures for a unique look.
For example, you can alternate between different colors of stone or brick to create a mosaic effect.
Weatherproofing Considerations
To make your walkway last, weatherproof your materials. This might mean sealing wood, applying a protective coating to metals, or using a weather-resistant adhesive.
| Material | Preparation Needed | Weatherproofing Tip |
|---|---|---|
| Wood | Sanding | Apply a waterproof sealant |
| Bricks | Cleaning | Use a weather-resistant mortar |
| Stones | Scrubbing | Seal with a stone sealant |
Brick Pathway Designs on a Budget
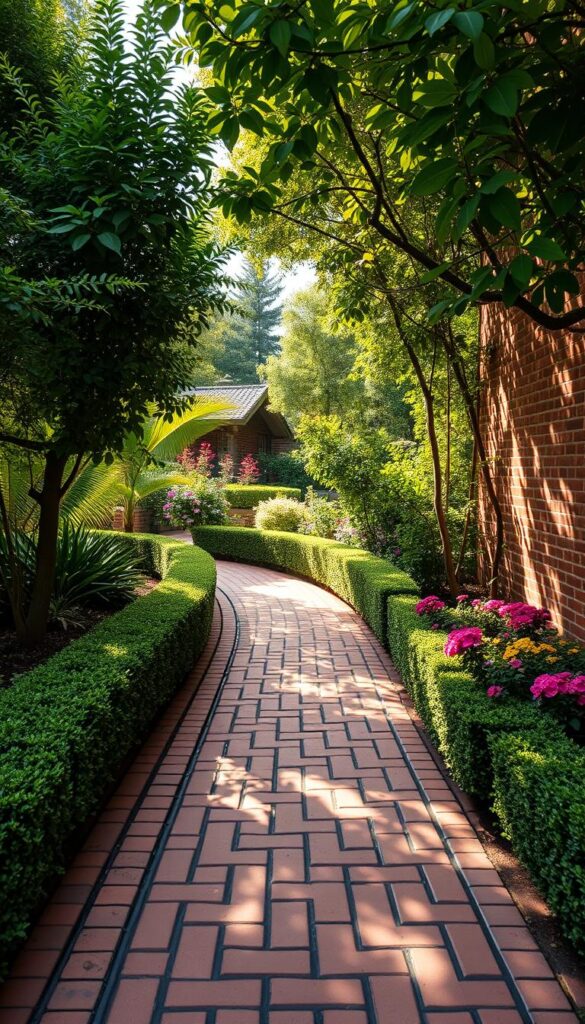
You can make a stunning brick pathway without spending a lot. Brick pathways are not just beautiful; they’re also a smart way to improve your outdoor area. With some creativity, you can create a pathway that matches your garden or yard without spending too much.
Sourcing Affordable Bricks
To save money, look for bricks at local suppliers, salvage yards, or online. You can find reclaimed or surplus bricks for less than new ones. Make sure the bricks are in good shape and can handle the outdoors.
Pattern Options for Visual Interest
The pattern you pick can really make your pathway stand out. Here are some popular ones:
- Herringbone Pattern: A classic choice that adds a touch of sophistication.
- Basket Weave Design: Creates a woven effect that is both unique and visually appealing.
- Running Bond Layout: A simple, yet effective pattern that works well for straight pathways.
Herringbone Pattern
The herringbone pattern involves laying bricks in a zigzag pattern, which creates a visually striking effect.
Basket Weave Design
This design involves laying bricks in pairs, alternating direction to create a woven effect.
Running Bond Layout
A straightforward pattern where bricks are laid end to end, creating a simple, elegant look.
Installation Techniques
Proper installation is key to a durable and attractive brick pathway. Start by preparing the ground, ensuring it is level and compact. Lay your bricks according to your chosen pattern, using sand to fill gaps and stabilize the bricks.
Sealing and Maintaining Brick Walkways
To extend the life of your brick pathway, consider sealing it with a waterproof sealant. Regular maintenance, such as cleaning and re-sanding, will also help keep your pathway looking its best.
| Maintenance Task | Frequency | Benefit |
|---|---|---|
| Cleaning | Monthly | Removes dirt and debris |
| Re-sanding | Quarterly | Maintains stability and appearance |
| Sealing | Annually | Protects against weathering |
Wood Slice Walkways
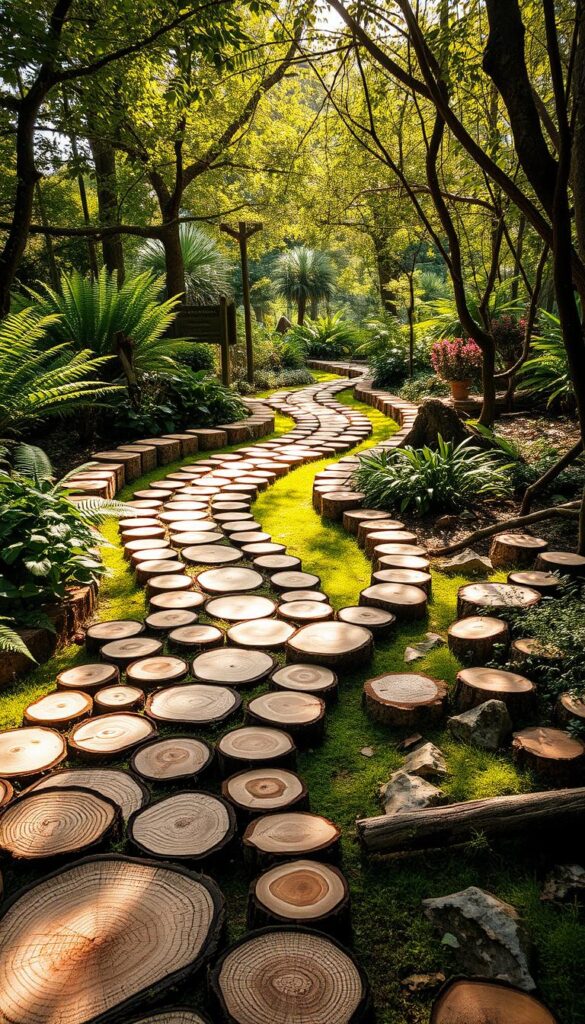
Looking for a budget-friendly DIY walkway idea? Wood slice walkways are a charming, natural option. They can beautify your outdoor space without costing a lot.
Sourcing Wood Slices
You can find wood slices from local tree services, online, or by cutting logs yourself. Choose trees with unique grain patterns or textures for added beauty.
Preparing Wood for Outdoor Use
To use wood slices outdoors, you need to protect them. This involves several steps:
Sanding Techniques
Sanding makes the surface smooth, removing splinters or rough spots. Use a medium-grit sandpaper first, then a fine-grit for the best finish.
Sealing Options
Sealants protect the wood from moisture and UV damage. You can use waterproof varnishes or oils.
Preservative Treatments
Apply a preservative treatment to make the wood last longer. Borate-based treatments are good against rot and insects.
Creating Your Wood Slice Path
To make your path, lay out the slices first. You can arrange them randomly or in a design. Once you like the layout, place the slices, making sure they’re level and secure.
Extending the Lifespan of Wood Outdoors
Regular care is crucial for your wood slice walkway. Check it often, reapply sealants as needed, and keep it clean.
| Material | Cost | Durability |
|---|---|---|
| Wood Slices | $3-$5 per slice | 5-7 years with proper maintenance |
| Sealant | $10-$20 per gallon | Varies by product |
| Preservative | $5-$10 per quart | Extends wood lifespan |
Concrete Stepping Stones You Can Make Yourself
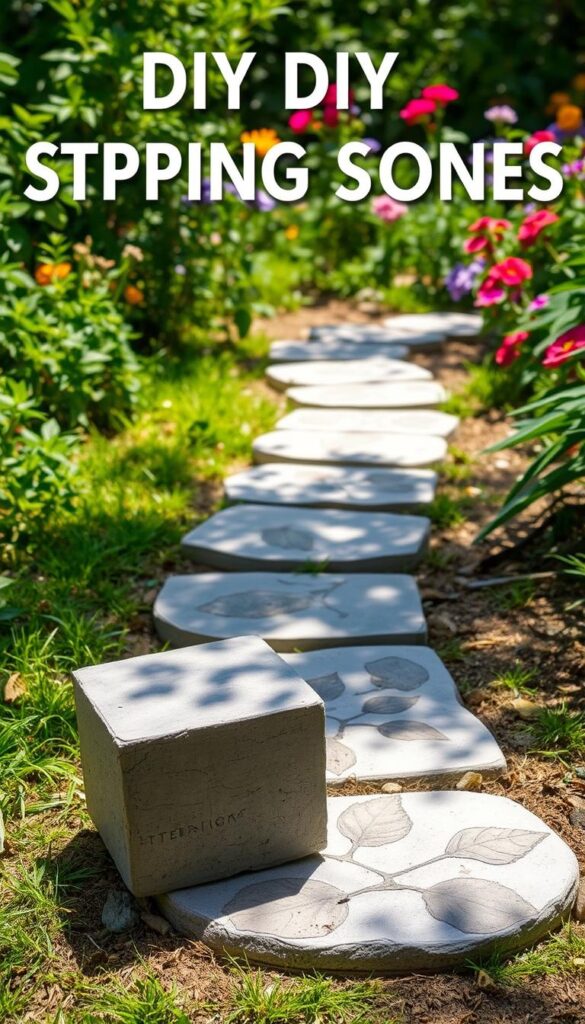
You can make your own concrete stepping stones easily. Use DIY concrete mix and molds. This project adds a personal touch and saves money.
DIY Concrete Mix Options
Making your own concrete mix is simple. Mix cement, sand, and gravel together. Adjust the mix for strength and texture. Add pigments for a decorative finish.
Molds and Forms for Custom Shapes
The shape of your stepping stones depends on the molds. Get creative with different materials for unique shapes.
Using Household Items as Molds
Old plates, pans, or silicone molds can be used as molds. They’re great for making stepping stones.
Creating Custom Wooden Forms
Building wooden forms lets you make stones in specific sizes and shapes. They fit your walkway design perfectly.
Plastic Molds and Liners
Plastic molds are easy to use and come in many shapes and sizes. They help make uniform stepping stones.
Pouring and Setting Process
When your mold is ready, pour in the concrete mix. Make sure it’s spread evenly. Let it set as the mix instructions say. Proper curing is key for durable stones.
Decorative Techniques for Personalization
Add a personal touch by embedding objects like seashells or glass pieces into the concrete. It makes each stone unique and beautiful.
Here’s a simple comparison of different mold materials:
| Mold Material | Ease of Use | Customization |
|---|---|---|
| Household Items | Easy | Limited |
| Custom Wooden Forms | Moderate | High |
| Plastic Molds | Easy | Moderate |
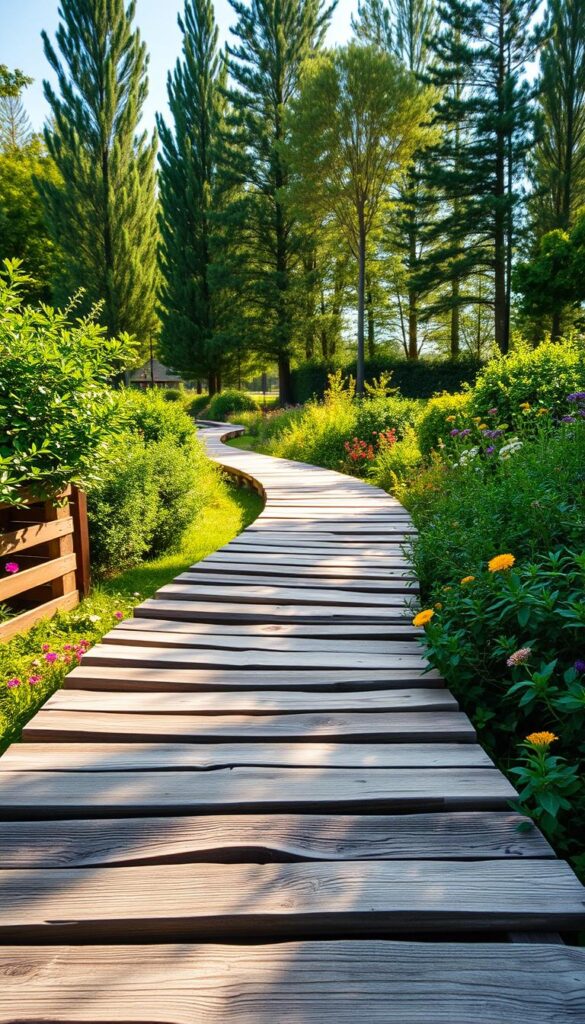
Pallet Wood Walkway Projects
Pallet wood walkway projects are a great way to reuse materials and beautify your outdoor space. They are eco-friendly, reduce waste, and add a unique touch to your garden or yard.
Dismantling and Preparing Pallets
To begin your pallet wood walkway project, dismantle the pallets and prepare the wood. Remove the nails, clean the wood, and cut it into the right sizes for your walkway.
Design Options for Pallet Walkways
Pallet wood walkways come in many design options. You can make a simple path or get creative with patterns and designs. Use the wood slices or planks in different ways.
Assembly and Installation
Assembling and installing your pallet wood walkway involves several steps.
Creating Modular Sections
Make modular sections of your walkway by arranging the pallet wood into frames or panels. This makes it easier to install and adjust.
Securing to the Ground
To keep your walkway stable, secure it to the ground with the right fasteners or anchors. Choose based on your design and soil type.
Connecting Multiple Sections
If your walkway has multiple sections, connect them smoothly. This ensures a flat and even surface.
Treating Wood for Longevity
To make your pallet wood walkway last longer, apply a protective treatment. Use a sealant or wood preservative to protect against moisture and UV damage.
| Treatment Type | Durability | Cost |
|---|---|---|
| Sealant | High | Moderate |
| Wood Preservative | Very High | Higher |
| Natural Oil | Moderate | Lower |
Sand and Stone Mosaic Pathways
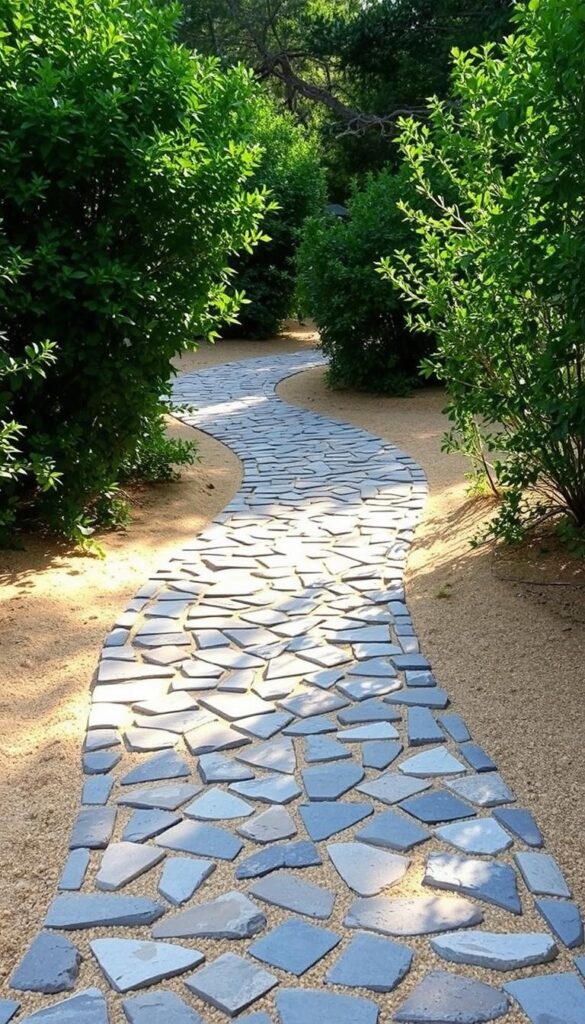
Looking for a budget-friendly walkway idea? Try a sand and stone mosaic pathway. It’s both unique and affordable, making your outdoor space more beautiful.
Materials Needed
To make a mosaic pathway, you’ll need a few things. You’ll need sand, stones in different sizes and colors, and something to hold it all together like polymeric sand or mortar. You might also want a weed barrier fabric to keep weeds out.
Planning Your Design
Before you start, plan your mosaic pathway design. Think about the pattern, stone colors and textures, and how it will fit in your garden or yard. Look for inspiration in nature, art, or traditional mosaic designs.
Installation Process
Installing a mosaic pathway involves a few steps.
Creating a Stable Base
First, prepare the area for your pathway. Remove debris and weeds, and add a weed barrier fabric if needed. Then, lay down compacted gravel or sand for a solid base.
Setting Your Pattern
With your base ready, start your mosaic pattern with stones and sand. Begin in the center and work outwards, making sure stones are evenly spaced and the pattern is balanced.
Securing with Sand or Mortar
Once your pattern is set, fill gaps with sand or mortar. For a lasting pathway, use polymeric sand. It hardens with water, stopping weeds and stone movement.
Preserving Your Mosaic Pattern
To keep your mosaic looking great, regular care is key. Sweep away debris, refill sand or mortar as needed, and seal the pathway to protect it from weather.
Grass and Pavers Combination Walkways
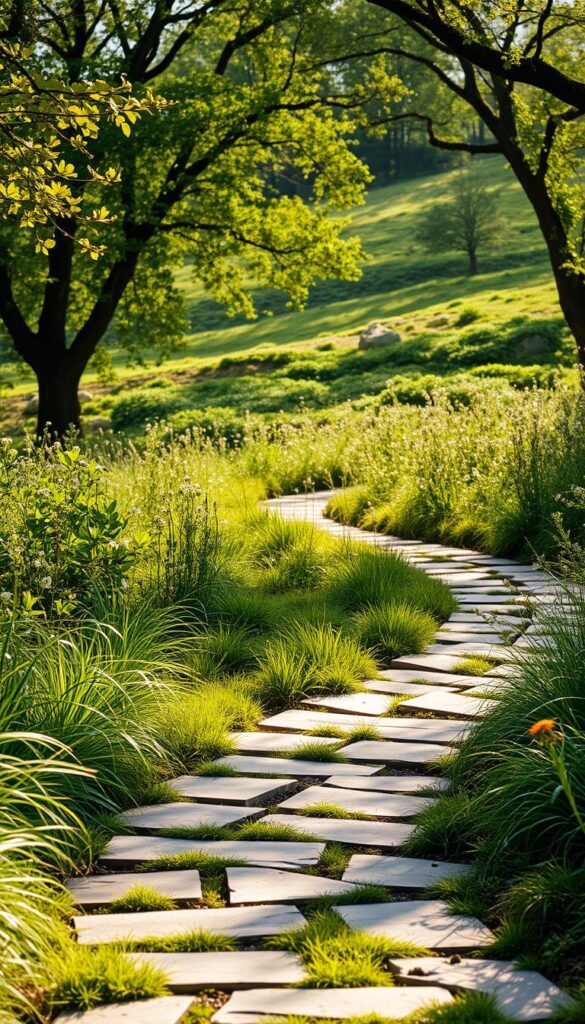
Creating a walkway with grass and pavers is a smart and cheap idea. It makes your outdoor space look better and works well. This mix is both pretty and strong.
Selecting Affordable Pavers
Look for pavers that are cheap but last long. Concrete or brick pavers are good choices because they’re affordable and look nice. You can also use old bricks or concrete to save money.
Layout Options for Grass and Pavers
The way you lay out your walkway matters a lot. You can go for a simple pattern or something more complex. Think about the size and shape of your pavers and how they’ll look with the grass.
Installation Steps
Setting up a grass and pavers walkway takes a few important steps:
Preparing the Soil
First, clean the area and make the ground even. Make sure the soil is firm and drains well. This helps both the pavers and the grass.
Setting Pavers in Place
Then, put your pavers down as you planned, leaving space for grass. Use a level to make sure they’re flat.
Planting or Seeding Grass
Once the pavers are in, fill the gaps with soil and plant grass seeds or sod. Water and care for the grass well to keep the walkway looking good.
Grass Maintenance Between Pavers
To keep your walkway looking great, you need to take care of it. Mow the grass right and keep the pavers clean and stable.
Crushed Granite and Decomposed Granite Paths
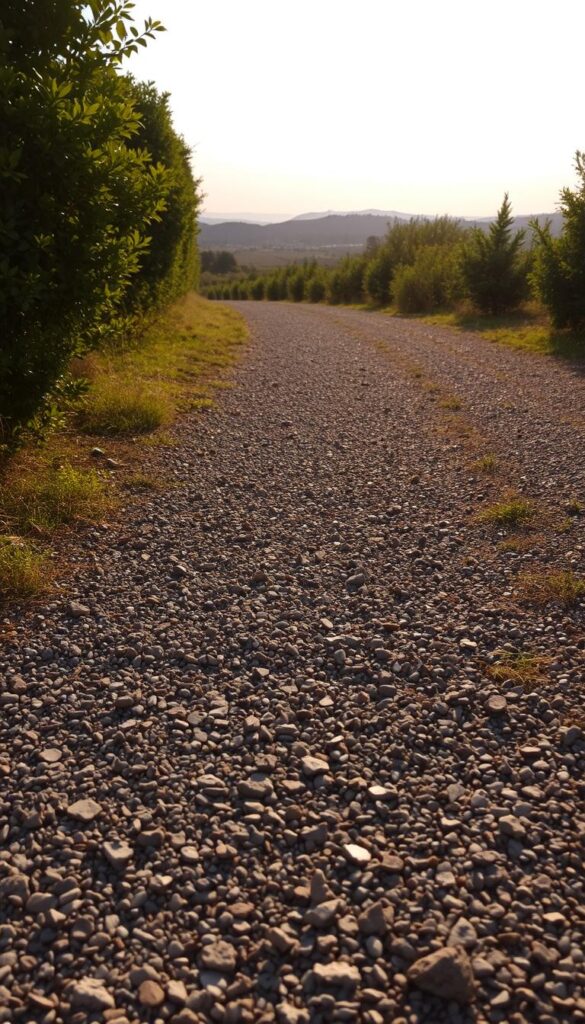
Crushed granite and decomposed granite are great for a budget-friendly walkway. They are durable and stylish, making them perfect for your path.
Benefits of Granite Materials
These materials are loved for their durability and aesthetic appeal. They let water drain well, preventing erosion. Plus, they’re easy to care for compared to other options.
Cost Comparison with Other Materials
Cost is key in budget-friendly walkway projects. Crushed granite and decomposed granite are cheaper than pavers, brick, or concrete. Here’s a cost comparison per square foot:
| Material | Cost per Square Foot |
|---|---|
| Crushed Granite | $2-$4 |
| Decomposed Granite | $3-$5 |
| Pavers | $5-$10 |
| Brick | $8-$15 |
| Concrete | $6-$12 |
Installation Techniques
Installing your granite path right is key to its lasting beauty. Here’s how to do it:
Excavation and Base Preparation
First, dig the area to about 4-6 inches deep. Then, lay down a base of compacted gravel.
Layering and Compaction Methods
Next, add a layer of crushed or decomposed granite. Use a tamper or compactor to pack it down tightly.
Adding Stabilizers for Durability
For extra durability, add polymeric sand. It helps keep the path stable and stops weeds.
Edging Options to Contain Granite
To keep your granite in place, use edging like plastic, metal, brick, or stone. They also make your walkway look better.
Walkways with Ground Cover Plants
Ground cover plants offer a versatile and attractive option for walkways. They need less upkeep than traditional materials. This means you won’t have to fix or replace them as often.
Low-Maintenance Plant Options
When picking ground cover plants, choose ones that do well in your area. Some great picks include:
Creeping Thyme and Herbs
Creeping thyme is a fragrant, drought-tolerant choice. It can handle foot traffic well.
Moss Varieties for Shady Areas
Moss is perfect for shady spots. It makes a lush, green walkway.
Drought-Tolerant Sedums
Sedums are succulents that store water. They’re great for dry climates.
Combining Plants with Stepping Stones
Adding stepping stones to ground cover plants makes paths more interesting. It also makes them functional.
Planting and Establishment Process
To set up a ground cover walkway, start by preparing the soil. Remove weeds and debris. Plant the chosen ground cover at the right spacing, and water well.
Seasonal Care for Living Walkways
Check your walkway often for weeds and trim plants when needed. Add a layer of mulch or compost to keep moisture in and weeds out.
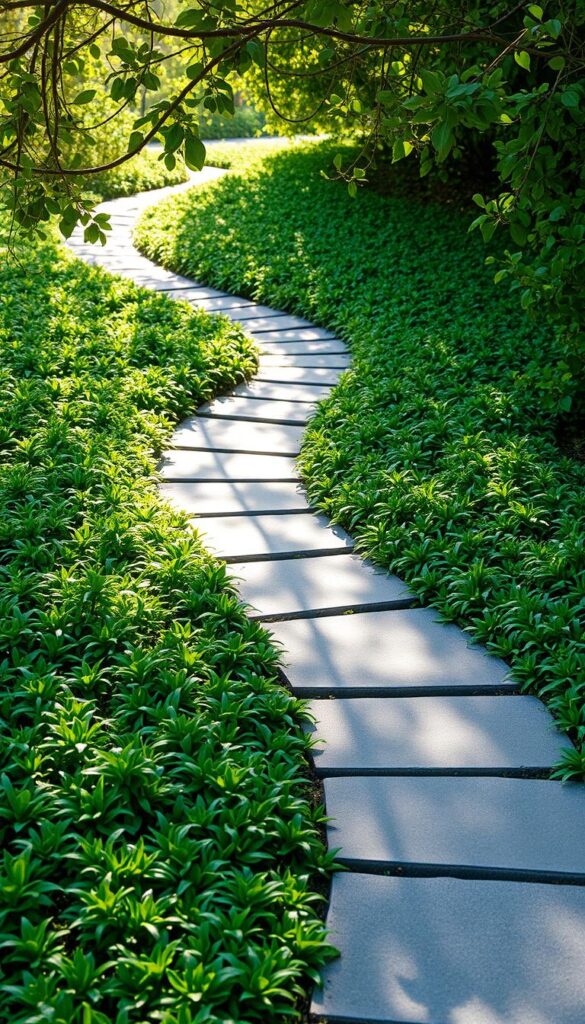
Conclusion: Creating Beautiful Pathways Without Breaking the Bank
You now have many cheap walkway ideas to try at home. You can make paths from gravel, stone, mulch, or stepping stones. These options are endless and won’t cost a lot.
These budget-friendly ideas can make your home look better and even increase its value. By using materials you already have and getting creative, you can make a beautiful outdoor space. It’s a great way to show off your style without spending a lot.
With these ideas, you can turn your outdoor area into something amazing. Start planning your walkway project today. It will make your home look and feel better.